Necklace Spree
Today, I went out for lunch with my whole family for my youngest sister's birthday. She's 17! Its so weird--she still feels 8 to me...and she'll love that I put that on the intraweb!
Anywho, after the lunch, my other two sisters and I decided to peruse the mall (my sister had to do an inventory in a store there at 6, and we decided to help her kill the time). We stopped in the Icing store (conveniently the one sis had to do inventory in...), and I found some kick-ass-awesome jewelry!
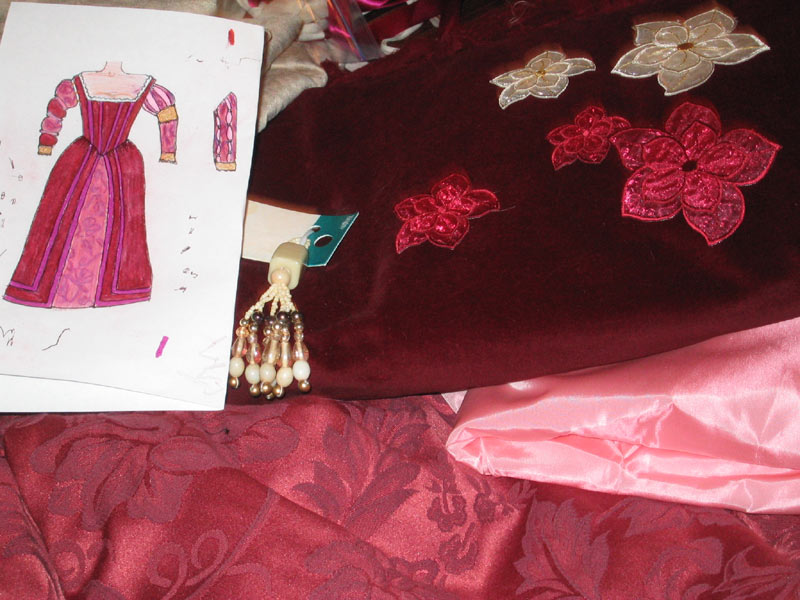
I think this might be courtesan usable--especially the first--the pearl one. But I'm putting them both online to show off cuz they're awesome. They were from the Icing's vintage collection that is now going extinct. So I got each necklace for $3, and the matching earrings for $2.50 each. I thought that was pretty good considering the normal prices ($12/necklace, $5/earring). Score!

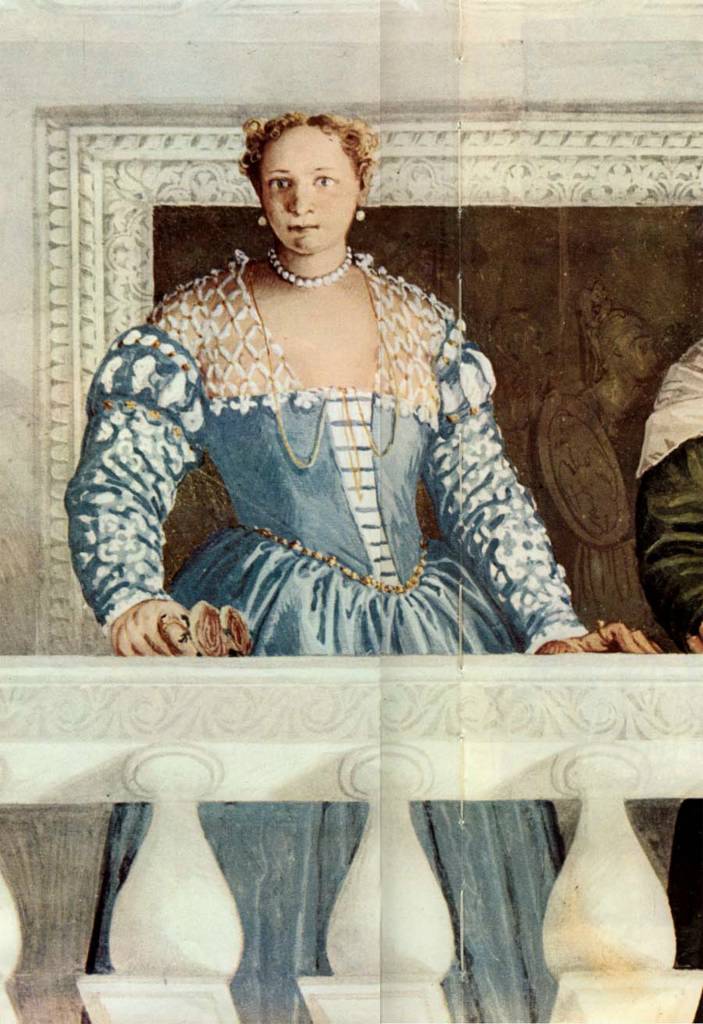
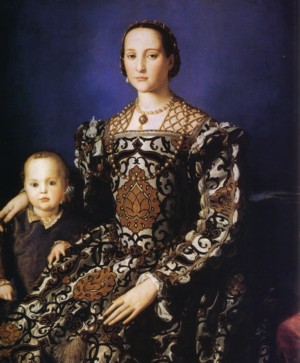
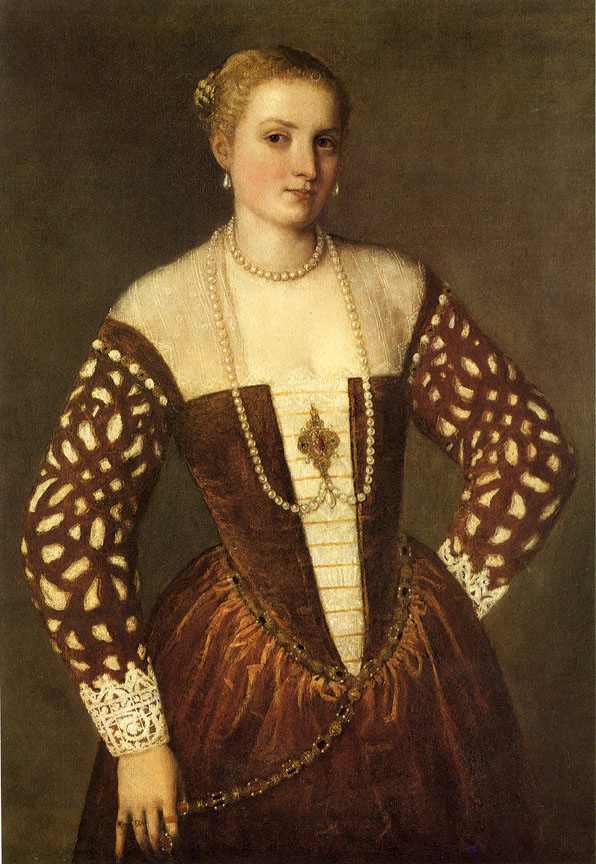
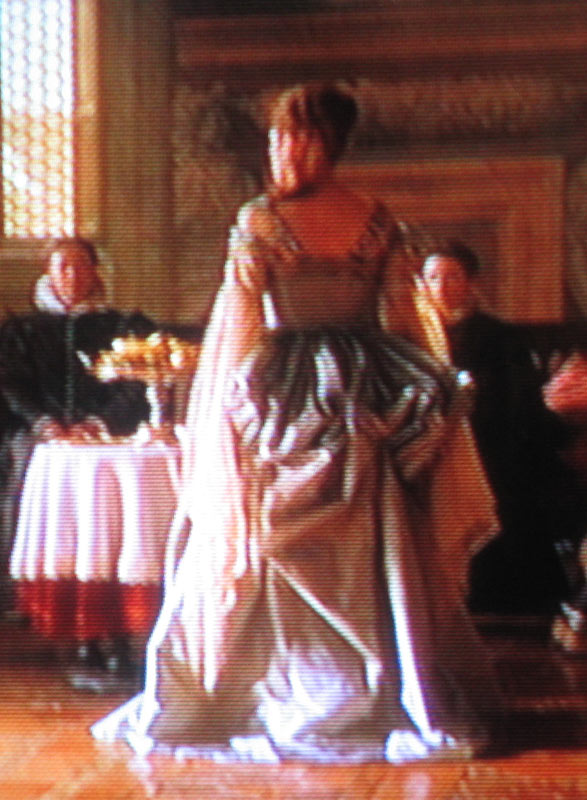
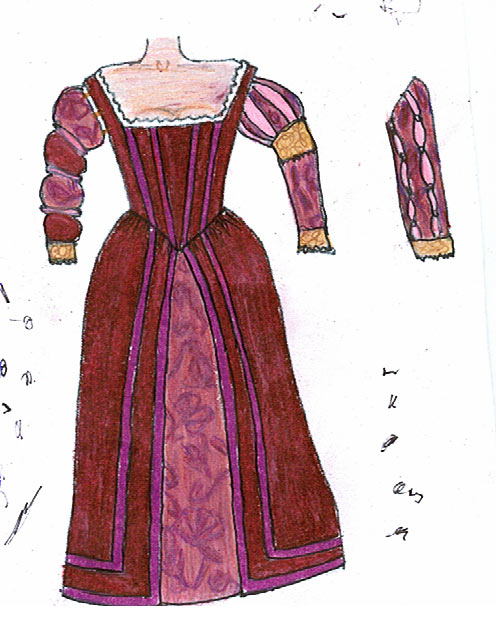
I think the above is so much like some portraits I've seen. And the green jewels should accent the red dress nicely.
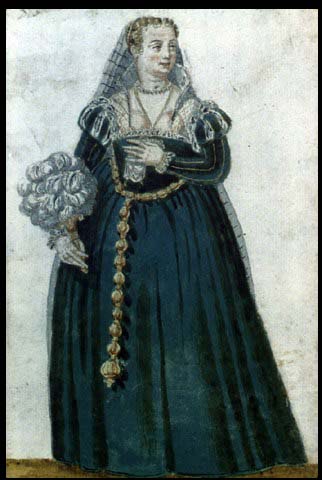
And this was just too cute not to buy.
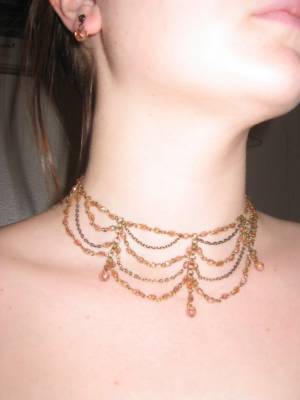
Anywho, after the lunch, my other two sisters and I decided to peruse the mall (my sister had to do an inventory in a store there at 6, and we decided to help her kill the time). We stopped in the Icing store (conveniently the one sis had to do inventory in...), and I found some kick-ass-awesome jewelry!
I think this might be courtesan usable--especially the first--the pearl one. But I'm putting them both online to show off cuz they're awesome. They were from the Icing's vintage collection that is now going extinct. So I got each necklace for $3, and the matching earrings for $2.50 each. I thought that was pretty good considering the normal prices ($12/necklace, $5/earring). Score!
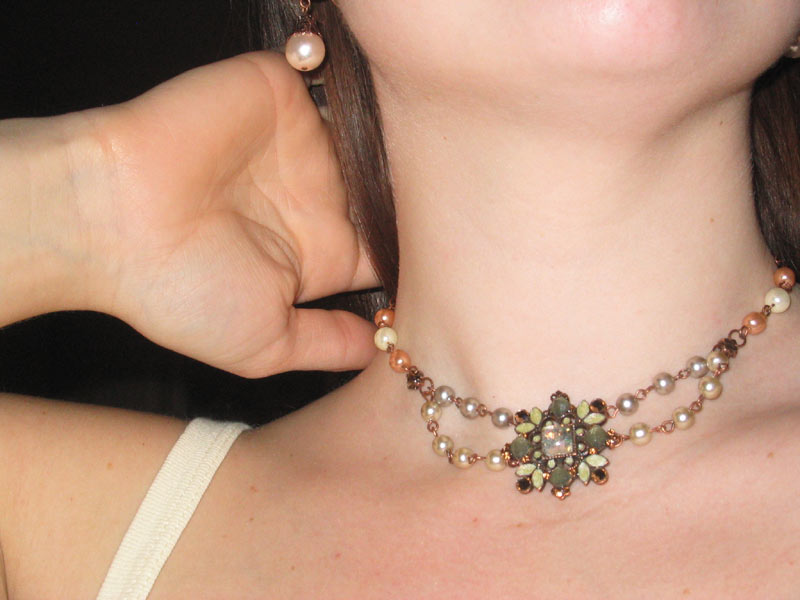
I think the above is so much like some portraits I've seen. And the green jewels should accent the red dress nicely.
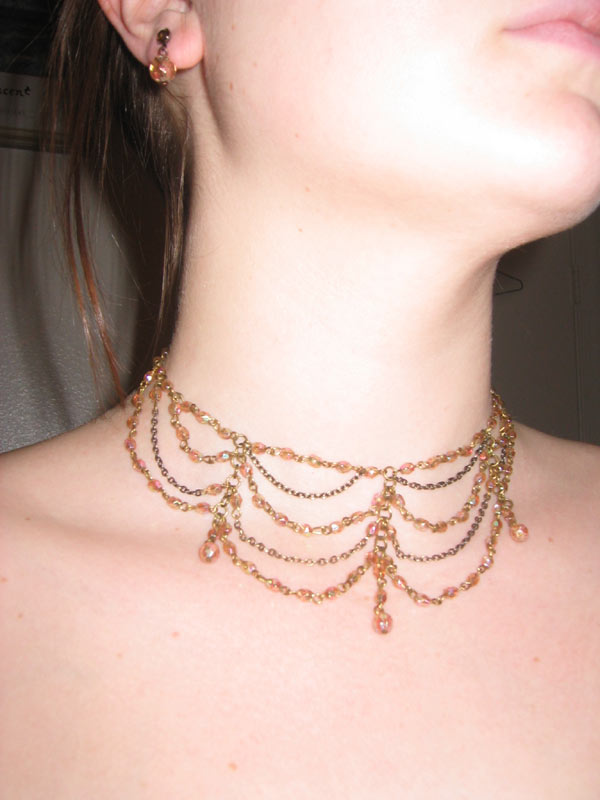
And this was just too cute not to buy.
posted by Julebug | 2:46 PM
|
0 comments
![]()